Adding a logo to gloves enhances brand visibility and gives your products a professional look. Several methods are available, each suitable for different materials, designs, and budgets.
1. Methods to Add a Logo on Gloves
Screen Printing
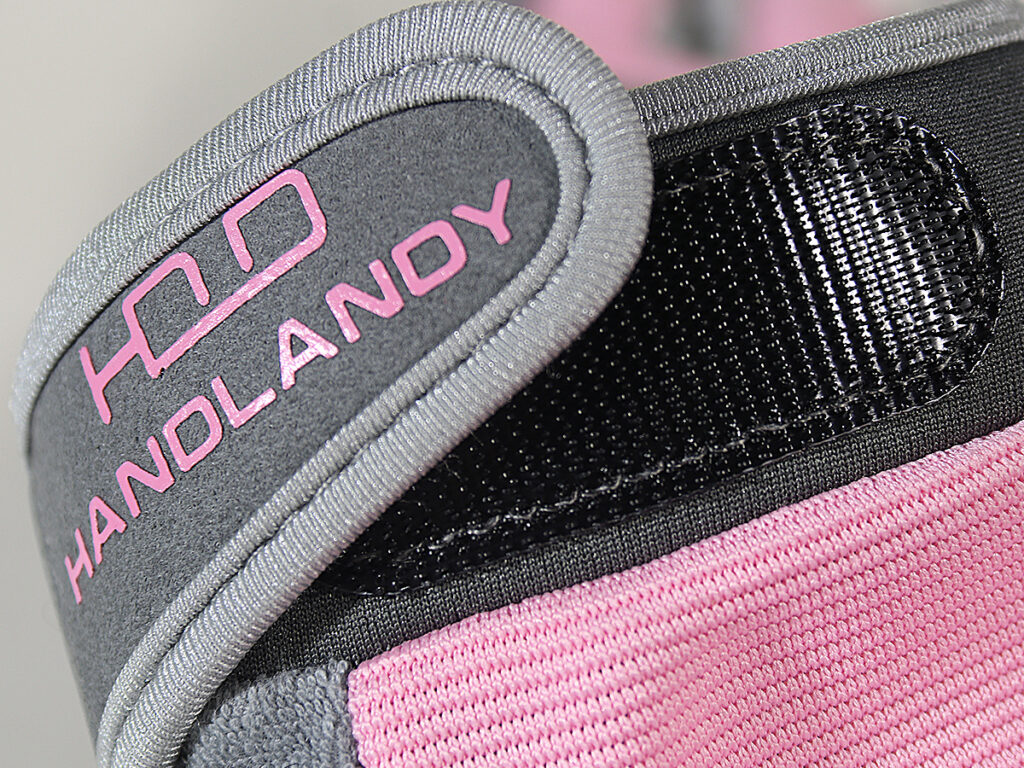
- Best For: Simple designs with few colors.
- How It Works: Ink is applied through a stencil onto the glove.
- Pros:
- Cost-effective for bulk production.
- Produces bold and vibrant designs.
- Cons:
- Not ideal for intricate logos.
- Each color requires a separate screen.
Heat Transfer Printing
- Best For: Detailed and multi-colored logos.
- How It Works: A heat press transfers a pre-printed design onto the glove.
- Pros:
- Suitable for complex designs.
- Works on most glove materials.
- Cons:
- Can fade over time.
- Not ideal for dark gloves due to transparency issues.
Embroidery
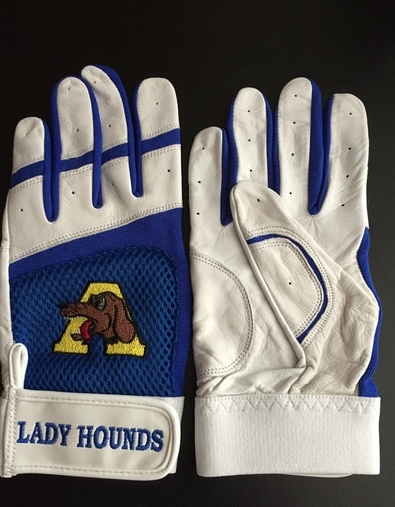
- Best For: High-end gloves that need a premium look.
- How It Works: A machine stitches the logo onto the glove.
- Pros:
- Durable and resistant to wear.
- Adds a textured, professional feel.
- Cons:
- Limited to simpler designs.
- Costs more than other methods.
Debossing/Embossing
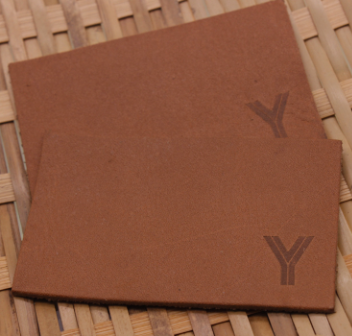
- Best For: Leather or synthetic leather gloves.
- How It Works: Creates recessed (debossed) or raised (embossed) logos using heat and pressure.
- Pros:
- Elegant and durable.
- Long-lasting finish.
- Cons:
- Limited to specific materials.
- Less visible from a distance.
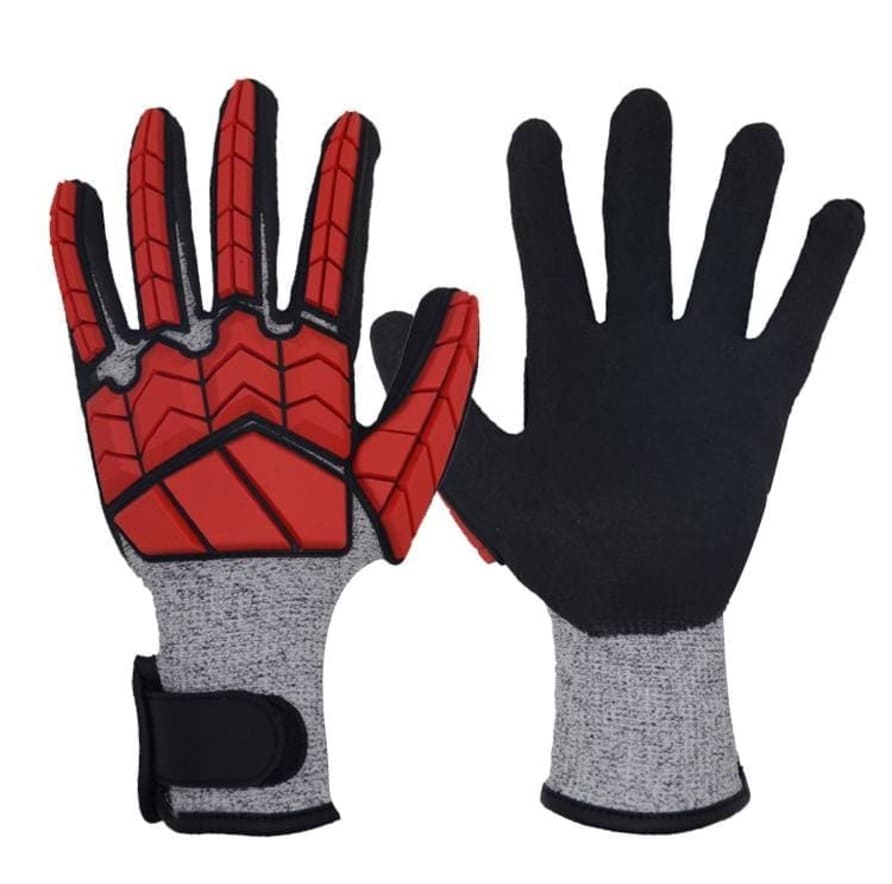
TPR Molded Logos

- Best For: Safety and work gloves requiring impact protection.
- How It Works: Thermoplastic Rubber (TPR) is molded into a logo shape and attached to the glove, often providing both branding and functional impact resistance. 维乐多塑
- Pros:
- Combines branding with protective features.
- Highly durable and resistant to harsh conditions.
- Cons:
- Higher production cost.
- Suitable mainly for gloves designed for heavy-duty use.
Rubber Patch Logos

- Best For: Casual and sports gloves.
- How It Works: Rubber patches with the brand logo are created and sewn or glued onto the gloves.
- Pros:
- Offers a 3D effect, enhancing visual appeal.
- Durable and flexible.
- Cons:
- Additional stitching or adhesive may be required.
- May not be suitable for formal glove designs.
2. Choosing the Right Method
| Factor | Recommended Method |
|---|---|
| Glove Material | Embossing for leather; screen printing for fabric. |
| Logo Complexity | Heat transfer for detailed logos; embroidery for simple ones. |
| Durability Needed | Embroidery or debossing. |
| Budget | Screen printing for cost-effectiveness. |
3. Placement and Design Tips
- Placement: Common areas include the back of the hand, wrist strap, or fingers.
- Design Simplification: Simplify complex logos to ensure clarity.
- Color Contrast: Use contrasting colors to make your logo stand out.
- Test Samples: Always test a sample to evaluate the final result.
4. Step-by-Step Process
- Select the Material: Choose gloves that match the method you plan to use.
- Finalize the Design: Ensure the logo is optimized for the selected method.
- Choose a Method: Pick a method based on budget, durability, and design needs.
- Work with a Manufacturer: Collaborate with an experienced manufacturer for high-quality results.
- Test and Approve: Create a sample to ensure quality before bulk production.
In conclusion, adding a logo to gloves is a powerful way to build brand identity while offering a functional product. Whether you choose screen printing, embroidery, embossing, TPR molded logos, or rubber patch logos, selecting the right method for your gloves’ material and intended use is crucial. With proper planning and execution, your gloves can become both practical and memorable.






2 Responses
Spot on with this write-up, I really suppose this web site wants much more consideration. I’ll most likely be once more to read way more, thanks for that info.
Thanks a ton for the shout-out—knowing the site was helpful to you just made our day.
We’ll keep the good stuff coming!
All the best,